PProduct Reviews The 7 Best Yoga Mats in the UK, According to InstructorsbyAmy GarnerApril 30, 2024 Yoga has become a widely popular practice for promoting physical and mental well-being. Whether you’re a seasoned yogi…
Read More 9 minute read PProduct Reviews Honeylove Reviews: Is Honeylove Products Legit?byAmy GarnerApril 12, 2024 Honeylove Reviews: As a lady with a deeper understanding of body positivity, building my self-confidence and esteem has…
Read More 11 minute read PProduct Reviews Kicks Crew Reviews: Is Kicks Crew Legit? Pros & Cons, CostbyAmy GarnerApril 5, 2024 Kicks Crew Reviews: Is Kicks Crew Legit? Pros & Cons, Cost Looking good is beyond having the money…
Read More 11 minute read PProduct Reviews Panda Supps Reviews: Is Panda Supps Worth It?byAmy GarnerApril 5, 2024 Panda Supps may be the answer if you’ve ever thought that your exercise regimen could use a little…
Read More 11 minute read YYoga Lifestyle Asana Rebel Reviews: Is Asana Rebel Legit?byAmy GarnerApril 4, 2024 As someone deeply invested in my fitness journey, I’ve been through the gamut of wellness apps. However, Asana…
Read More 9 minute read YYoga Lifestyle V Shred Reviews: Is V Shred Legit?byAmy GarnerApril 2, 2024 Weight loss doesn’t begin in the gym with a dumb bell; it starts in your head with a decision.…
Read More 15 minute read YYoga Lifestyle Noom Reviews: Is Noom Diet Legit? Pros & Cons, Cost, & Who It’s Right ForbyAmy GarnerMarch 30, 2024 We all want to be healthy and feel good, but let’s face it, sticking to a healthy lifestyle…
Read More 9 minute read PProduct Reviews Ryze Superfoods Reviews: Is Ryze Superfoods Reviews Legit?byAmy GarnerMarch 27, 2024 Ryze superfoods mushoom coffee is one of the best when it comes to getting vitality and healthier well-being.…
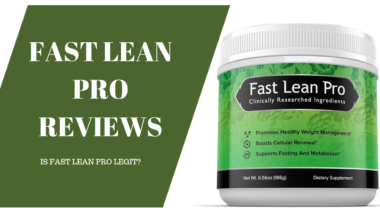
Read More 9 minute read PProduct Reviews Fast Lean Pro Reviews: Is Fast Lean Pro Legit?byAmy GarnerMarch 26, 2024 Given the rapidity with which health and wellness trends emerge and fade in today’s society, it is understandable…
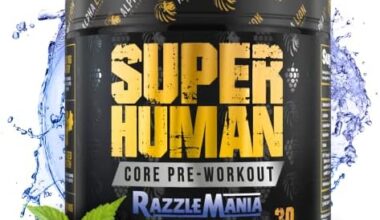
Read More 10 minute read PProduct Reviews Alpha Lion Reviews: Is Alpha Lion Legit?byAmy GarnerMarch 23, 2024 Alpha Lion is a firm that manufactures pills meant to improve both the quality of sleep and athletic…
Read More 8 minute read PProduct Reviews One And Done Workout Reviews: Is One And Done Workout Legit?byAmy GarnerMarch 21, 2024 One And Done Workout Reviews: Is One And Done Workout Legit? As a writer who specializes in making…
Read More 6 minute read FFitness Betterme Reviews: Is Betterme Legit?byAmy GarnerMarch 20, 2024 Betterme Reviews: Is Betterme Legit? It might be difficult to reach your fitness objectives, and it may take…